Showing posts with label whimseybox. Show all posts

Wednesday, February 19, 2014

Initial Keychains with Air Dry Clay

I need some small personalized gifts for a few people, and decided that some simple keychains would be perfect. Rather than a split ring, I chose this style of finding because it is easy to attach to a purse strap or bag handle. Keychains aren't just for keys, they can also identify your bag!


Take a small piece of your air-dry clay, and roll it out flat. I used an apple corer to cut my circles. It was the perfect size, and I already had it. Lots of little nubs to sand off after drying though.

See the bits that had to be sanded?
Then a quick hole, made with a toothpick.


Next, I used scrapbooking stamps directly on the soft clay. Most I did with no ink, for one I tried ink.

Then I let them dry for a day or two. After they were dry, I got rid of those nubs with an emery board. Then I painted the fronts and backs—some with acrylics, others with simple kids' watercolors. After that dried, I used a glue pen in the stamped letters, and then added glitter.

When everything was dry and extra glitter brushed off with a big soft paintbrush, I added 3 coats of acrylic coating, 10 minutes apart.

9mm jump rings connect the keychain finding to the clay pieces.


Wednesday, February 5, 2014

Air Dry Clay Bowl


The December 2013 Whimseybox came with a pack of air-dry clay, a small doily (to create texture), a large circle cookie cutter, an orange stick, and a small emery board.

The suggested project was a small bowl, and I decided to go for it, since I have never used this stuff before. It also only takes up about 1/3 of the pack of clay, so there are a lot more possibilities.

I found the clay a little difficult to warm up with my hands, as it was not a small piece—and then hard to roll out. I used my kitchen rolling pin with wax paper over the clay. Cutting was easy; I chose a stamp and used a silver ink pad. I am not thrilled with the letters—the size was right, but the font has a bit too much detail for this kind of project. Live and learn!

The drying—oh the drying! The project directions say to let it dry overnight. Mine took 3 days to fully dry. And the thickness matches what is in the project direction photos.

I also let it dry while perched on a coffee mug, to get the bowl shape. Unfortunately, over 2 days of sitting on the cup, you can see where the rim of the cup was on my bowl! Ah well, maybe I should have given it a plate shape when I realized this was happening.

I am considering spraying this with acrylic sealer, but have not just yet. I have another few small things that I made at the same time (I need to add some paint and whatnot), and I will try sealing those first.

Also—the smell of this clay. I kind of liked it (in a weird way), my husband hated it. One of the boys kept asking what that "weird smell" is. As in "that weird smell isn't dinner is it?"

No.


Linked up:
Take a Look Tuesday
Fluster's Creative Muster

Sunday, August 11, 2013

Back from the Big Vacay!

Yes, it's been a few months. A few months of whirlwind busyness.

Kid 1 got out of school at the end of May, Kid 2 nearer the end of June. Less than a week after Kid 2 was out, we were off to Europe for 6.5 weeks! (Which, in hindsight, was too long—Kid 1 and I are both feeling overwhelmed with his starting school in 4 days!) London, Amsterdam, Brussels, Paris, 3 weeks in Italy (2.5 in Genova/Rapallo), Salzburg, Munich.

6.5 weeks with no crafting, though I did get some magazines in Italy and some yarn in Salzburg. And in Venice I managed to find some nice affordable (cheap!) glass beads and pendants from Murano. I didn't get to GO to Murano, but ah well. I wish I had bought more beads, already.

Less than 24 hours after we returned, we had Kid 2's spring soccer team party. And we really wanted to do something for our fabulous team manager (who also managed our last fall team).


Bead a Murano bead from Venice. Cord purchased in Germany. Findings from my stash. The little bag came in a Whimseybox that arrived while we were gone (I am not sure what month's box), ring blank from the stash, letters stamped with a Pick Your Plum stamping set I purchased last spring, wild plum and stream alcohol inks.

Simple, yet very very satisfying to make.


Linked:
Take a Look Tuesday

Tuesday, May 14, 2013

Wings

Yes, wings. That was the theme for Le Challenge #2.

Before the theme was announced, I was already working on the Kookaburra quilt for Kid 2. When he originally saw the backing fabric, he actually asked if I could just frame that for his room. Well...no, because 1) then there wouldn't be nearly enough for the back and 2) that would be one BIG frame.

But I thought maybe I would do something with my scraps.

Then my last Whimseybox contained string art supplies—wood base, nails, black wire, orange wire, green/white baker's twine, and blue/white baker's twine.

I am now over halfway done with the quilting (and fighting through a tough part, as much of the quilt has to fit through my machine, it's a struggle). So, clearly, I have my scraps. But not enough of the fabric I was hoping to use.

But I made it work.

Kingfisher on a Wire
Supplies

Step 1--Mod Podged fabric scraps


Sides stamped with silver stamp pad

Wire under the kingfisher


 The quilt I am making is based on the Saffron Craig Banksia Bloom Kookaburra fabrics. I chose some of my scraps and mod podged them onto my wood. After it dried, I trimmed the fabric and then used a silver stamp pad to color the edges.

After looking at a whole lot of belted kingfisher (the kookaburra is a large kingfisher from Australia, the belted kingfisher is the North American kingfisher we see at a local park) pictures online and in books, I found a pose I liked. I then traced two different photos to get the pose I wanted. I scanned my drawing, enlarged it, and printed it.

After putting in the nails—the hardest part of this project—I first put on the wire the kingfisher is perched on, and then strung the kingfisher.

I added nails to the side, and more wire, for hanging. I also added felt circles to the back corners.

Of course, kid 2 decided he doesn't want to actually hang it LOL.

Linked to:
Le Challenge
Fluster's Creative Muster
Sew Darn Crafty


Sunday, March 10, 2013

Washi and milk carton bookmarks

So, my 10-year-old loves to read. And he loves bookmarks. Demands them, in fact. And he loses them. And a piece of paper doesn't count for him! It must be a "real bookmark."

Fortunately, he is pretty mellow when it comes to losing bookmarks. And he totally gets why I don't want to buy them—because he doesn't either!

So...voila! Washi and milk carton bookmarks.


These are super simple! Rinse a milk carton, and cut out the flat sides with craft scissors. Then, with a cutting mat and Xacto knife, cut down to a nice bookmark size—mine vary, as you can see, by how much space I had on the milk carton.

My setup
I used one of my quilting rulers as a straight edge. I actually did this on the floor, so I could put all of my weight on the ruler—that milk carton plastic can be squirmy.

Trim down to a rectangle
Cut down
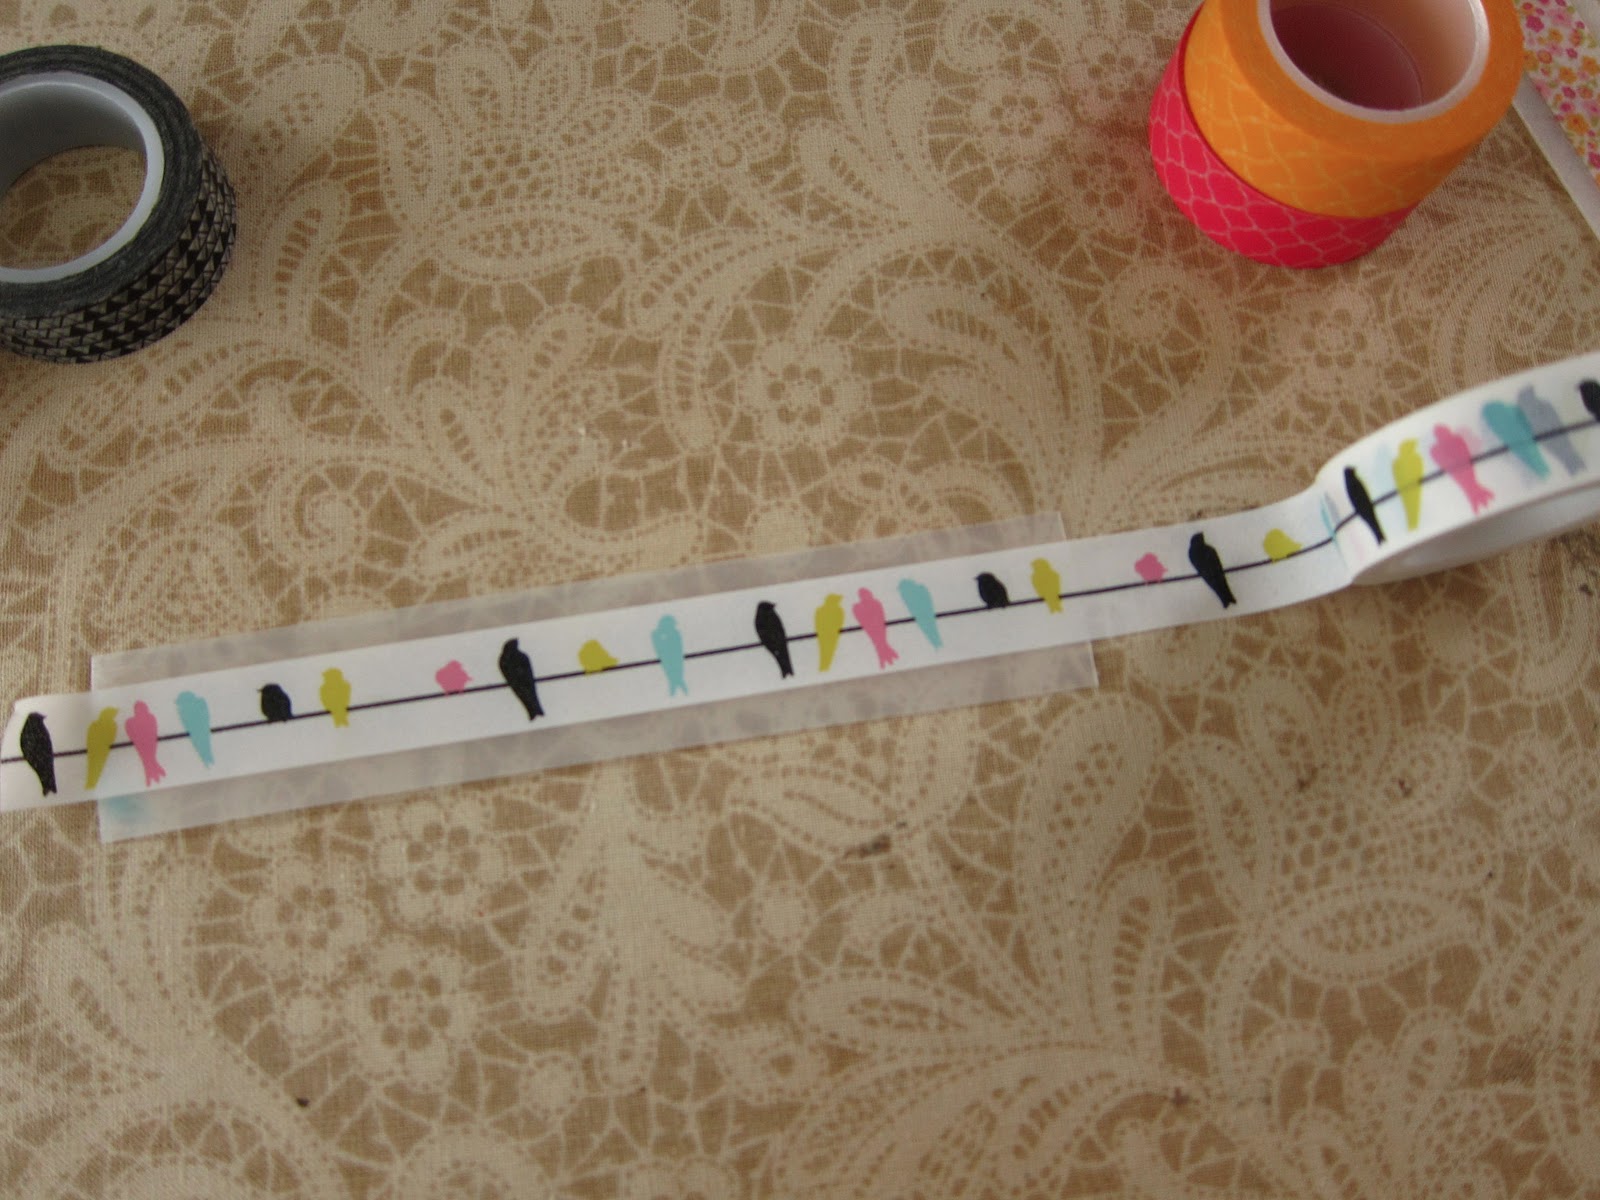
Once I had my rectangles, I simply wrapped washi tape around the piece. Once, or twice, depending on the size of the bookmark and the pattern of the tape. Fold it over the ends, or go all the way around. It will peel off with use if you trim it flush to the end.
My favorite tape—this one's for me.
That's all there is to it!
 Easy as pie! Easier, actually.

Linked to:
Take a Look Tuesday
Fluster's Creative Muster 
Fireflies and Jellybeans 
Happy Hour Friday 
Sew Darn Crafty

Tuesday, March 5, 2013

What's for dinner?!


Yes, I get asked that question every single day. In the morning, at school pickups, and then again (especially if they are hoping the answer will change).

The January 2013 Whimseybox came with 3 6" by 5" balsa pieces, 2 rolls of washi tape, a clamshell plastic box, and some bright rubber bands.


For this project, I painted one side of the entire board with chalkboard paint I had leftover from another project. I used 3 coats, separated by about 10 minutes drying time in the sun, and then let it dry for over 24 hours.

I then simply added a washi border. I stuck it to the wall using that white plasticy tack-n-stick. There may be a better choice, but I had this so we'll see.

This board is small for a menu board, but then so is my wall. That light switch is centered on the wall. There is not much wall space in my kitchen, and this light switch gets more action than any other in the house—the perfect place for a message board!

The other 2 balsa boards from the box? I have a little project in progress, but can't find the beads I want. Looking for another solution there....

Linked to:
Sew Darn Crafty
Take a Look Tuesday
Fluster's Creative Muster
Happy Hour Friday

Sunday, December 16, 2012

Leather Sketchbook Cover, with Pocket

Front
 A recent whimseybox contained a piece of soft leather (approximately 8.5 x 11"), and some metal studs.

I have looked at the box contents pretty regularly, but was undecided on what to do. I knew I wanted to paint on it—but on what?

Back
 After rejecting a variety of ideas (maybe purse straps for a sewn purse? or a purse bottom? but this leather is so soft it's almost suede, and will get filthy fast; maybe I would use a clutch? nope...; a bracelet or 4? no, this soft leather doesn't have the body of a stamped leather bracelet) and some pinterest searches, I settled on a basic wallet and/or sketchbook cover. And, I would use every piece of the leather!

Cutting guide
First, I squared up my piece of leather. Then, I cut the piece in half, so I had two 8.5 x 5.5 pieces. One of these became the main body piece. The other I cut into three pieces, each 5.5" wide—one 2.5" long, one 3" long, and the rest became the pocket flap.

 I first sewed on the sketchbook-holding flap, using binder clips to hold it in place, and the teflon foot on my sewing machine (and a size 90 stretch needle, as specified by my machine). Then came the pocket body, and then the pocket flap. Then I hand sewed the snap in place (a vintage snap from my grandmother's sewing basket).

Inside, with notebook and pencil
Next up was the painting, which was much more difficult than I expected—it took so much paint for the paint to show. I don't know if it is the soft texture of the leather, the acrylic paints, the brush I chose, or operator incompetence. I did the outside, waited an hour or so, and then the inside. Then I let both sides dry completely overnight.

Pocket snap and inside painting
The next morning I chose a piece of ribbon for the tie (part of the whimseybox packaging!). I then cut two slits for the ribbon to go through, and where a pencil can go.  After threading the ribbon through, I "painted" the ends with fraycheck.

Supplies and finished project
I want to put a small sketchbook in this, but all I could find was the small composition notebook at CVS (and all they had was red or blue!). An eraser, colored pencils, or cash and ID can fit into the pocket.

Thanks to the following sites for inspiration:
Vintage Craft Studio on flickr
the Kenton Sorenson wallet
World of Pineapple leather tips and tricks
Martha Stewart's leather crafts

Linked to:
Sew Darn Crafty

Sunday, December 9, 2012

Winter Coasters

Winter-themed coasters

 A recent Whimseybox included 2 unfinished tiles, a small bottle of modpodge, and a foam brush.

I have been thinking about making coasters, but finally pulled together my idea. Winter! Now that I have finally had to wear a scarf a couple of times, it finally feels wintery around here.Which means tea! And hot apple cider!

First, I painted the coasters with blue water color (of the cheap-o kid variety, it's what I had). I wanted this to look uneven, like the sky. I also painted part of a card, for cutting shapes.
Painted coasters, and a card for cutting.
What shapes? Snowflakes!
Snowflakes, mid-modpodge.
I cut some snowflakes, modpodged the coasters, and stuck a few on. Then modpodged over them.

Next, I cut 2 pieces of blue tulle that came in a past whimseybox. I wanted to add some texture—but not too much, because coasters and texture don't really mix. I put the layer down, added more modpodge, and then added a few more cut shapes, and more modpodge. And then a sprinkling of Crystal Snow superfine white glitter. My coasters need sparkle!

Paint, shapes, tulle, more shapes, glitter, beginning to dry.
After leaving them overnight to dry, I turned them upside down and trimmed the tulle—the coaster itself was the straightedge.

 The next day, I cut some oversized pieces of light blue felt I had on hand, modpodged the bottom of the tiles, and stuck the felt on. Then, I felt like they needed something else. I found 2 different snowflake stamps in my drawer, and silver and platinum ink pads. The coaster on the left has platinum, the right one has silver. (Tip: when using cheap-o kids foam stamps, don't press too hard! They collapse. Oops.)

Stamped!
I left them overnight again, to dry completely. On day 3, I trimmed the felt, and then sprayed the tops with 2 coats of acrylic sealer.

Done! With all supplies (except for tulle and felt).

Now I need a cup of tea!


Monday, May 14, 2012

Whimseybox Mother's Day Gifts


Mini canvas gifts

April's Whimseybox included one 4" x 4" mini canvas—and as Mother's Day was staring me down from the calendar, I realized this would make a perfect small gift. I just needed two more. Off to the local art store—where, of course, they only had one left, so I went with a 4" x 5" as well.

Since most of my crafting involves yarn or fabric, my mind tends to go blank when looking at a blank canvas. I also don't have a huge stash of crafty goodies to work with, since all the crafty goodness in an art or craft stores makes me want everything—so I buy nothing.

So, with my Whimseyboxes (and looming deadline) as inspiration,  set to work. Two grandmas, 1 great-grandma, and 2 kids and 1 husband who must also be involved in some way.


The Flowers

Made with two colors of Sculpey (from the January box). The pink flower was cut with a Pampered Chef cookie/cheese cutter thing I have never used for its intended purpose. The leaf and stem were made using one of the stencils in the April box. We all put our fingerprints in the pink flowers. After baking the prints did not seem as obvious, I think the shininess of the unbaked clay threw better shadows. Bummer!
Leaf and stem from the stencil

Flowers ready for baking
Can you see the fingerprints?

The Canvas

With two colors of paint from the January (yellow) and April (turquoise) boxes, I decided to try out both colors. I painted the outside of the frame with the pure color, then painted the front with watered down paint, and blotted with a paper napkin. This worked great with the turquoise, but only so-so with the yellow.
Painting—(cat food can is perfect for watered down paint!)

Blotting
The Writing

I wrote "Happy Mother's Day" with my awesome ballpoint glue pen, then poured glitter (February box) over it. When I came back to it, I simply dumped the extra glitter into the trash, and used one of the stencil brushes (April) to brush away the glitter I couldn't blow off.
Glittering

After dumping, blowing, brushing the extra glitter away
Finishing

I glued the Sculpey pieces on with GS Hypo Cement. And then we all signed with the magenta skinny Sharpie that came in the March box. I also wrote a small note around the back of each piece. Then I wrapped each in a piece of tissue paper (from various boxes), packed them up with notes, and off to the post office was I!
Ready!

Linking up: Sew Darn Crafty

Monday, March 19, 2012

it's a cowl, it's a shrug, it's....finished!

So! February's whimseybox included a fat quarter of silver satin—which I managed to take one really bad picture of before I cut it. But, here it is, cut:

I thought that this would make one side of a fabulous cowl. With red velvet on the other side—since I am not the sort of person who wears satin or velvet on a regular day, why not?!

So of I went to Joanns to find me some red velvet. And, of course, the only affordable red velvet they had was crushed and stretchy (think gymnast-wear!). But sometimes you need to live a little, because doing is the best way to learn. Right? I spent a lot of time on this project telling myself that.

To keep it from looking too boring, I added some sequins (from the January whimseybox) and beads (from my stash). I embroidered them on both sides at the same time. They are supposed to look like a curlique, but it didn't turn out quite like what was in my mind. On the red side I used red beads, on the silver side I used silvery ones. I may add more if I am so inclined. Or if people ask why I put a T on my cowl.

As cowl
As silver shrug
As red shrug

All in all it worked out. I could make a huge list of all the things that went horribly wrong illustrate my mathematical incompetence didn't work out and how this is barely like my original idea. But I will spare you the gory details.

Now I need a black dress.


Linked to:
Sew Modern Monday
Sew Darn Crafty
Fabric Tuesday

Tuesday, March 13, 2012

Cards with Bling

I have spent the last month plus thinking about the glitter and sequins in the January and February whimseyboxes. And thinking of shiny things to make.

Today, with my internet out, and I found a 50-pack of plain white cards and envelopes that I found at Target today, I could try out one of those ideas. Cards! Simple and usable. What's not to like?

 
Glitter and sequins (crystal snow from my stash)!      

Pens and watercolors! 
Glues and cards!

I tried a few things. Drawing in white crayon and painting watercolors over. Adding glue and glitter to the drawn lines. Drawing in glue and adding glitter (no watercolors). Drawing in pen and adding glue/glitter and sequins.

Some success:
 Crayon drawing, watercolor, Elmer's glue, glitter
 Scotch glue pen, glitter, Marvy marker
 Marvy markers, glue pen, glitter, sequins

Some learning experiences:
  •  It is really difficult to draw a picture in white crayon on white paper.
  • It takes a lot of crayon to resist more than 2 strokes of watercolor.
  • I need to try some other glue pens. The one I found at Staples creates excess "strings" of glue, almost like a glue gun. 
  • It might be worth trying watercolors that aren't from cheap-o kid art sets.
  • I cannot draw shamrocks. Those are in the trash.
  • Drawing in glue and adding glitter over watercolor does not work that well—the glitter color washes out. Drawing in crayon first works better.
  • Cheap cards from Target don't like watercolors—major paper curl!
Cheap Target card + watercolor = paper curl!

I am looking forward to trying more of these cards, especially for thank you notes. So I got myself some new goodies today—nicer cardstock, some metallic inkpads, a ballpoint gluepen, and a glue stamp pad (I didn't even know such a thing existed!), and stamp cleaner (I have no idea if this is necessary). Hopefully I can get the boys to make something too—thought I doubt they will go for glitter.

 New goodies for more experimenting.