Showing posts with label green living. Show all posts

Monday, January 27, 2014

Colorful Mini Vases


Painted mason jars, wine bottles, and so on and so forth have been soooooo popular on Pinterest lately. But what's the point of a vase if you can't put water in it without making the paint run?

These vases are recycled bottles—the green is a white truffle oil bottle, the pink is a bottle my hens dig up in the yard, and the purple is from a reed diffuser air freshener.

I got all labels off by soaking in water and then using glue gone. The truffle oil bottle was difficult.

Supplies:
Cleaned bottles
Alcohol inks
Acrylic clear coat
Cotton balls
Paper plate
Small dowel


For the small bottle, I used butterscotch (yellow) and wild plum (pink) inks. I applied a bit of each to a cotton ball...


And dabbed onto the bottle.


And dabbed and dabbed—but not on the bottom. I did the threads as best I could, but did not worry about them.


After letting the bottle dry for awhile, I sprayed it with acrylic clear coat. Though the alcohol inks won't run in water, the bottles did feel a bit tacky without a sealant. I held the bottles upside down on a dowel to spray all sides evenly. Three coats, each 10 minutes apart.


The only flowers I have? Dandelions! The green bottle is butterscotch with stream (blue), the purple is wild plum with stream.


So many possibilities! I only have 1 set of alcohol inks, and there are a whole lot more colors I would love to try. Rubbing alcohol will clean up any mistakes.

Ideas: using alcohol on a q-tip to draw a design, trying a stick-on stencil with more ink or alcohol, using just one color to create a solid effect, stamping a design, maybe even trying to add gold leaf of some sort. So many possibilities...


Linked to:
Take-A-Look Tuesday 
Fluster's Creative Muster 

Sunday, March 10, 2013

Washi and milk carton bookmarks

So, my 10-year-old loves to read. And he loves bookmarks. Demands them, in fact. And he loses them. And a piece of paper doesn't count for him! It must be a "real bookmark."

Fortunately, he is pretty mellow when it comes to losing bookmarks. And he totally gets why I don't want to buy them—because he doesn't either!

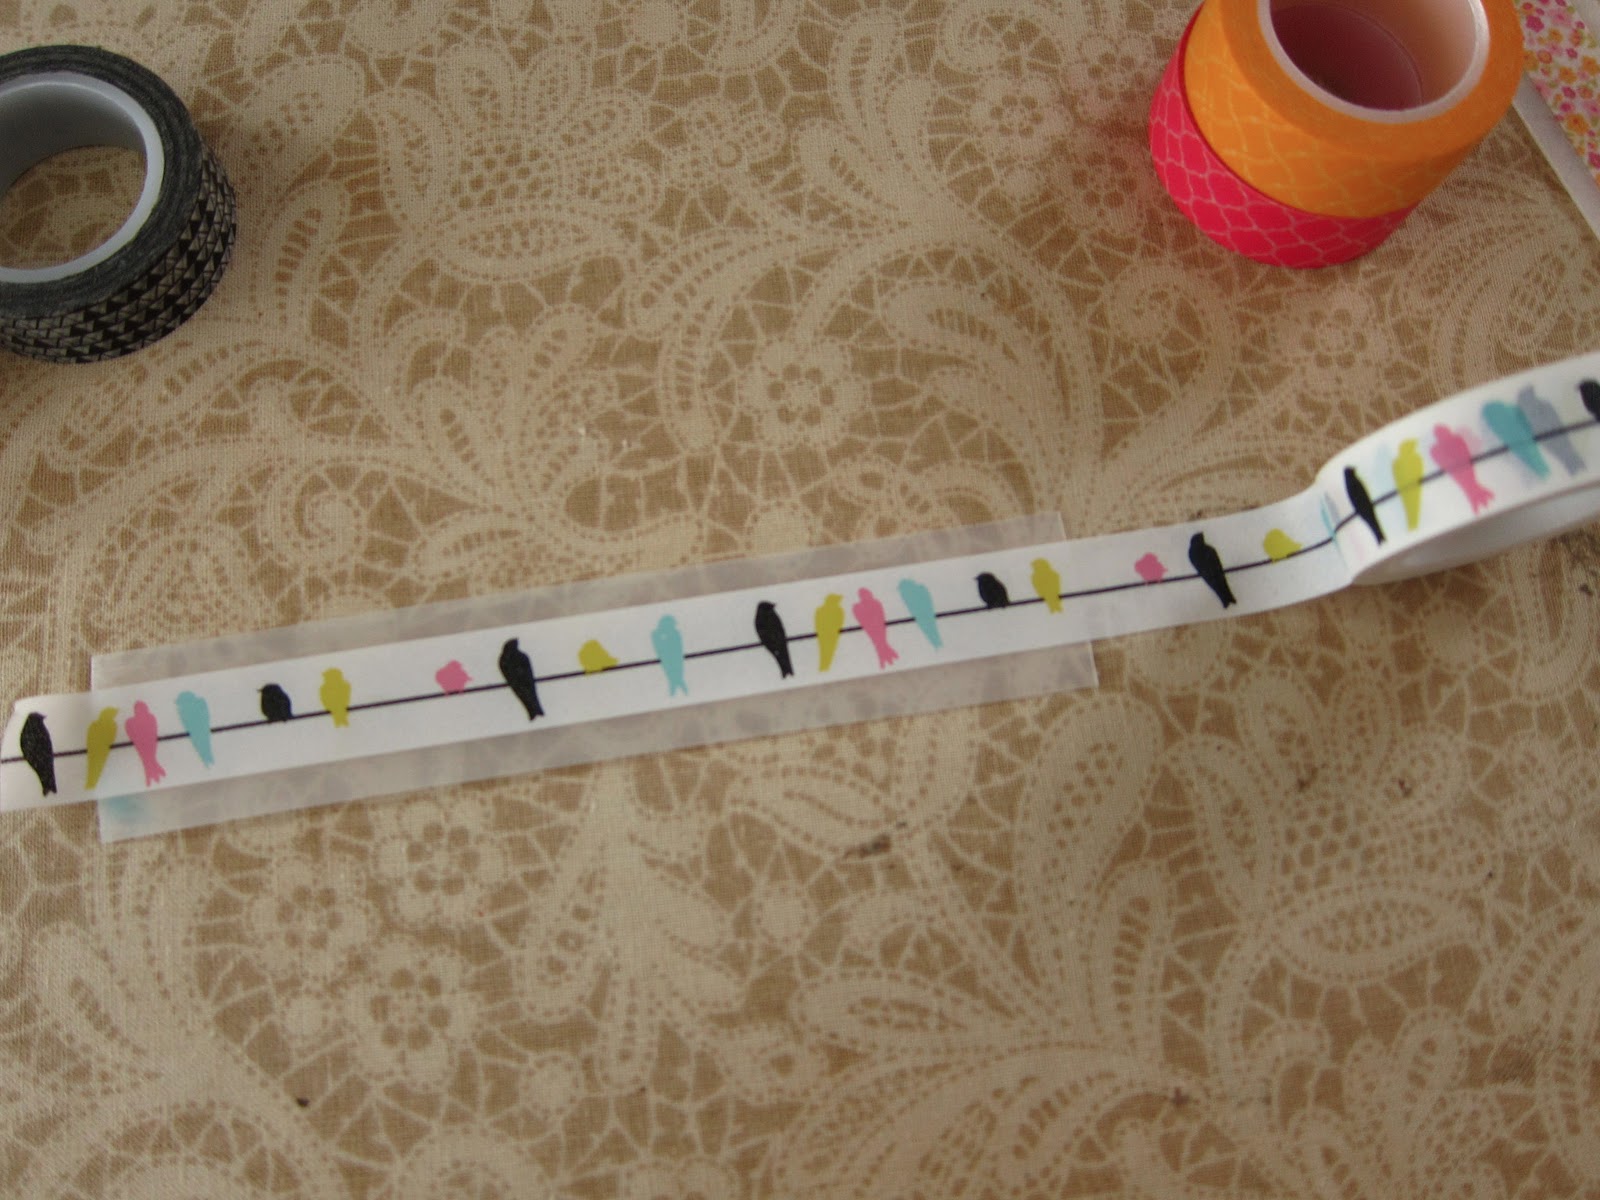
So...voila! Washi and milk carton bookmarks.


These are super simple! Rinse a milk carton, and cut out the flat sides with craft scissors. Then, with a cutting mat and Xacto knife, cut down to a nice bookmark size—mine vary, as you can see, by how much space I had on the milk carton.

My setup
I used one of my quilting rulers as a straight edge. I actually did this on the floor, so I could put all of my weight on the ruler—that milk carton plastic can be squirmy.

Trim down to a rectangle
Cut down
Once I had my rectangles, I simply wrapped washi tape around the piece. Once, or twice, depending on the size of the bookmark and the pattern of the tape. Fold it over the ends, or go all the way around. It will peel off with use if you trim it flush to the end.
My favorite tape—this one's for me.
That's all there is to it!
 Easy as pie! Easier, actually.

Linked to:
Take a Look Tuesday
Fluster's Creative Muster 
Fireflies and Jellybeans 
Happy Hour Friday 
Sew Darn Crafty

Monday, September 10, 2012

What I Want to Be Doing...and What I Have Been Doing

What I want to be working on:

Looptastic Mini Quilt from class with Elizabeth Hartman

What I have been working on:

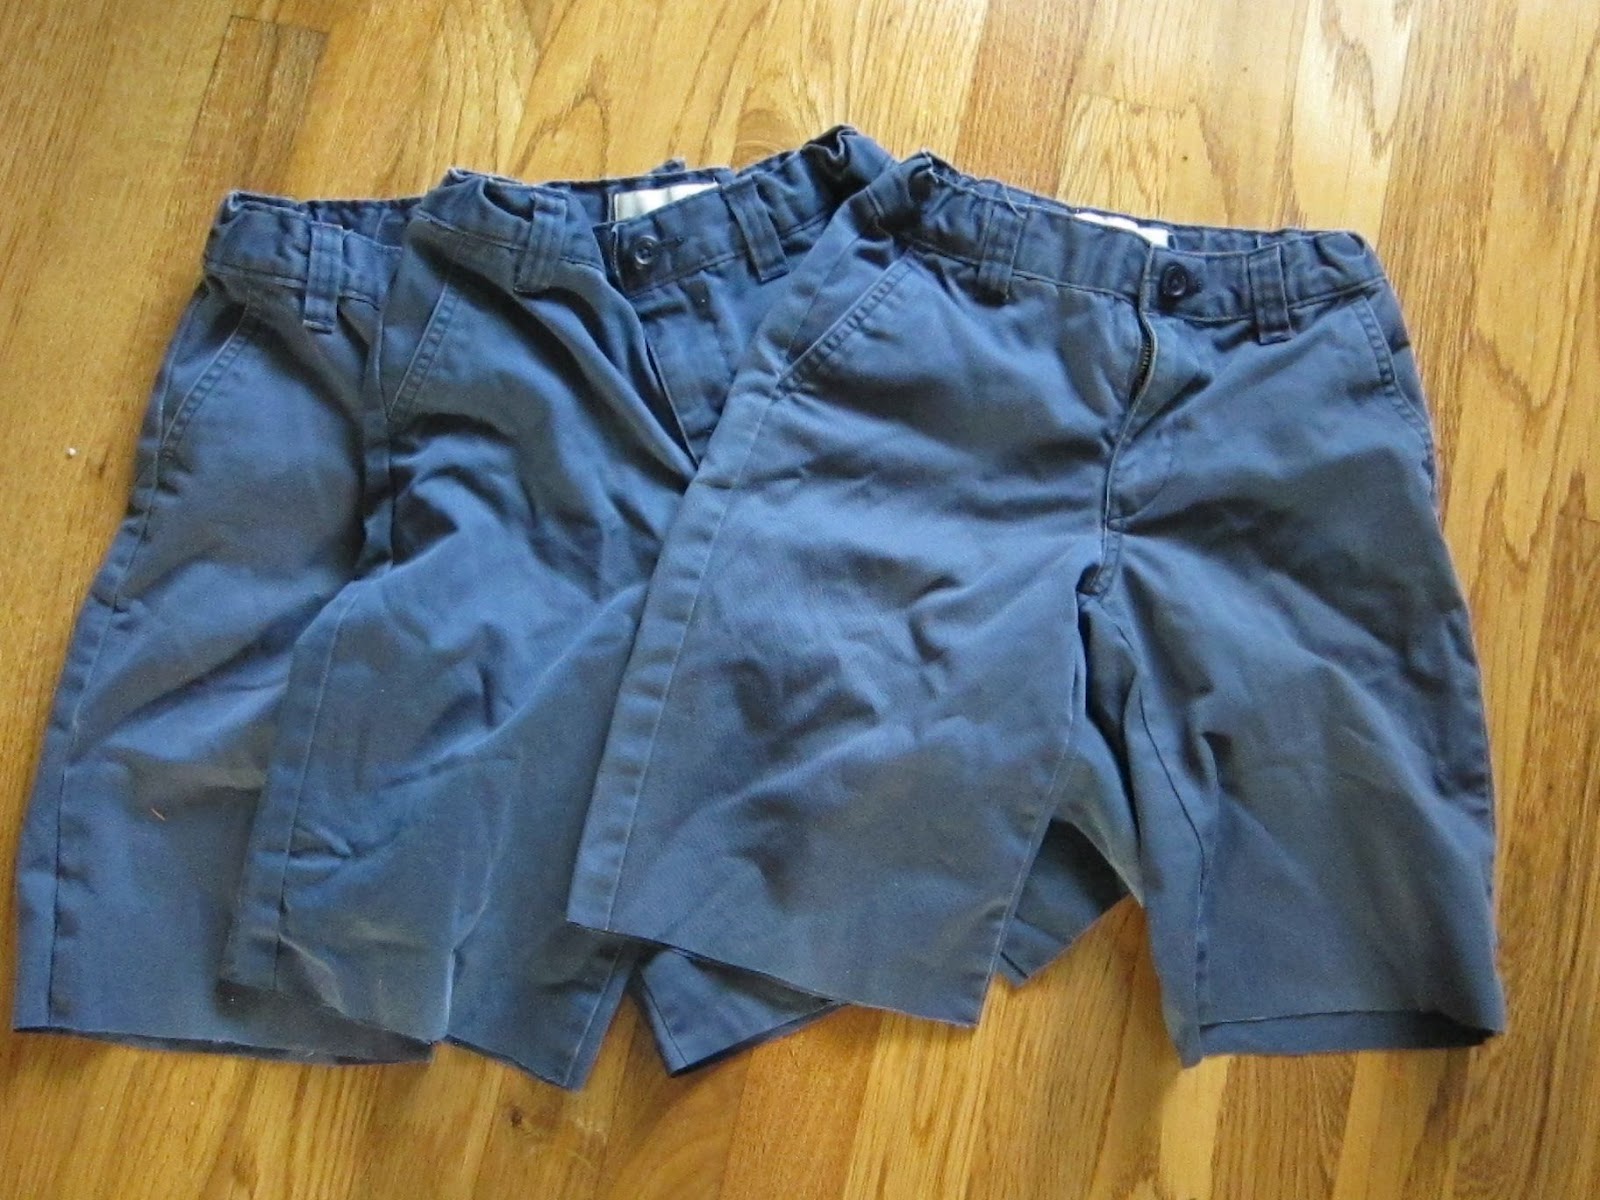
4th grader's uniform pants—4 of these!

Cut

Hemmed
Last August I bought E-man 5 pair of uniform pants and 1 pair of shorts. He never touched the shorts, and then in March I had to get 3 more pair of pants because of the ripped knees (and it is always the left knee). I believe I cut off the others and gave them to Goodwill (since E refused to wear shorts.

It has been so hot since school started. (I mean so hot—at 6:40 this morning it was 80° inside.) At least he and his brother gets to sit in classrooms with a/c, while I broil at home. So, he finally tried his shorts, which thanks to the adjustable waist fit just fine. He now only wants shorts, so I got his 3 ripped pair out of the drawer. Finished them (there are only 2 in the bottom picture because he was wearing the other pair at school.) Then he found another pair of pants in some drawer that would last maybe 1 or 2 more wearings before being ripped too. So, now I have done 4 pair. I can now do 1 pair in 15 minutes, yay me.

Linked to: Sew Darn Crafty Week 82

Tuesday, July 17, 2012

Spiced Fig Preserves


While the boys were at tae kwon do last night, I decided to do something with the figs coming ripe on our tree. Our tree is a mystery white variety, and I find them a bit tasteless.

The birds had started on some of the ripest figs, but there were plenty left (4 pounds worth). But the fig beetles aren't out yet, so there are actual whole ripe figs (yay!).

I made up a recipe using about 4 online ones as guides. The labels came from All About Orange. I used the blank label, printed on full-page stickers on my inkjet printer, then covered in contact paper and cut out with my circle cutter.

Spiced Fig Preserve

3.75 pound washed, de-stemmed figs
4.5 cups sugar
4 cups water
3T lemon juice
1.5 t ground cinnamon
1 t ground ginger
.5 t ground cloves
.75 t vanilla extract

Chop figs, there will be about 9 cups worth. Set aside. Put water and sugar in large Dutch oven, cook until sugar dissolves. Add figs, lemon juice, spices, and extract. Bring to a boil, then turn down to a heavy simmer. Cook down for about 45 minutes, mixture will thicken, and be about 200°. Put in sterilized jars, water bath process 10 minutes.


More figs!


Linked to: Sew Darn Crafty

Sunday, March 11, 2012

Easy-to-Clean Kid-Made Birdfeeder

Have you seen this recycled water bottle birdfeeder craft? It's all over pinterest and has been up on Family Fun's website for quite some time.

source: familyfun.com


We have done this craft before, and it is great. It also conveniently meets cub scout bear requirement 5B (Build or make a bird feeder or birdhouse and hang it in a place where birds can visit safely.). So, it's time for us to do this craft again!

We learned some things from this craft last time. The finches loves the feeder, and, as you refill the feeder, all the seed under the bottom perch never gets touched and rots into a hockey puck that won't come out. Yuck! And not good for the birds.

Old feeder with rotted seed still in the bottom—
after we worked to clean it for recycling!

So, this time, we decided to turn the bottle upside down! This way, when we refill, what was at the bottom will become the top, so it will cycle. Less waste, less rot.

We do this a little differently than Family Fun.

Supplies:
1 empty plastic drink bottle (ridged near the bottom is best)
X-acto knife
found stick
scissors
kitchen string
funnel
bird seed (we use nyger seed to attract native house finches and lesser goldfinches)


With the x-acto knife, make an X about 3" from the cap of the bottle. Make sure your stick will fit through. Than make another X opposite the first one. Push the stick all the way through. If the stick isn't level or exactly straight, it doesn't matter—the birds won't care! Then, an inch or two above the perch, poke the x-acto in and rotate it to make a hole. You may need to slice off  a small piece of bottle (my 9-year-old did not want to do the slicing). Do the same on the other side.

Next, tie a length of string around the bottom of the bottle (which is our top for this project). Use any lip or groove to help hold the bottle. Tie this piece in a knot as tight as you can. Then, take another length of string. Knot it to the first string on each side.

The, fill your feeder! Use the funnel. We didn't fill ours all the way, as we hung it in a new spot. It might take the birds a few days to find it.

To refill, simply take it down, turn it over, unscrew the cap, and pour more seed into the funnel. Hang back up.


 Linked up: Sew Darn Crafty


Sunday, October 3, 2010

farm CSA day

Another day with no crafting--but it was CSA day at our farm!

Added bonus: our CSA is a school fundraiser, and the farm has regular tours (strawberry, watermelon, pumpkin patch, depending on the season).

Rather than get any crafting in, we ate farm-grown organic produce. This is just a sampling, but boy those squash were yum-my.


The boys rode kid atvs, and these awesome pedal cars. T-bone was the first kid of the season (which started...yesterday) who didn't need a single push on the course. He was pleased.


We took the tractor ride to the pumpkin canyon, fed the boys giant shaved ices, and--of course--picked pumpkins! E-man picked his own outfit. He almost disappeared among the pumpkins.


A fun day. We love Tanaka Farms. And then for dinner I made cilantro pesto from this week's box.

Fingers crossed that crafting occurs maƱana!

Thursday, September 2, 2010

Yay! A real use for my scraps!

Yes, I save all my scraps. Big and small.

Somehow I found this tutorial this morning, for fabric sandwich bags. I have seen a few other mentions, but most use velcro. I'm afraid of the "oilcloth" sold at fabric stores--it feels like plastic, not oilcloth. I think it is plastic. Probably the worst kind (me? cynical?). And really, I want machine washable, not wipe cleanable. (Are my kids really bigger slobs than other peoples?)

I don't have a serger, but I love the bags in the tutorial. I'd also like something sturdier--as in, lined.

Voila.


Opening:

Open:

Yes, those are French seams. I love French seams. I even French-seamed the ends. Because that's how I roll.

I have more fabric in the dryer now. Those cottons I got to make my kids pillowcases with 2 years ago? Now I see sandwich and snack bags.

In other news:
Two down, 18 to go.